QUICK Paper Medallion Tutorial
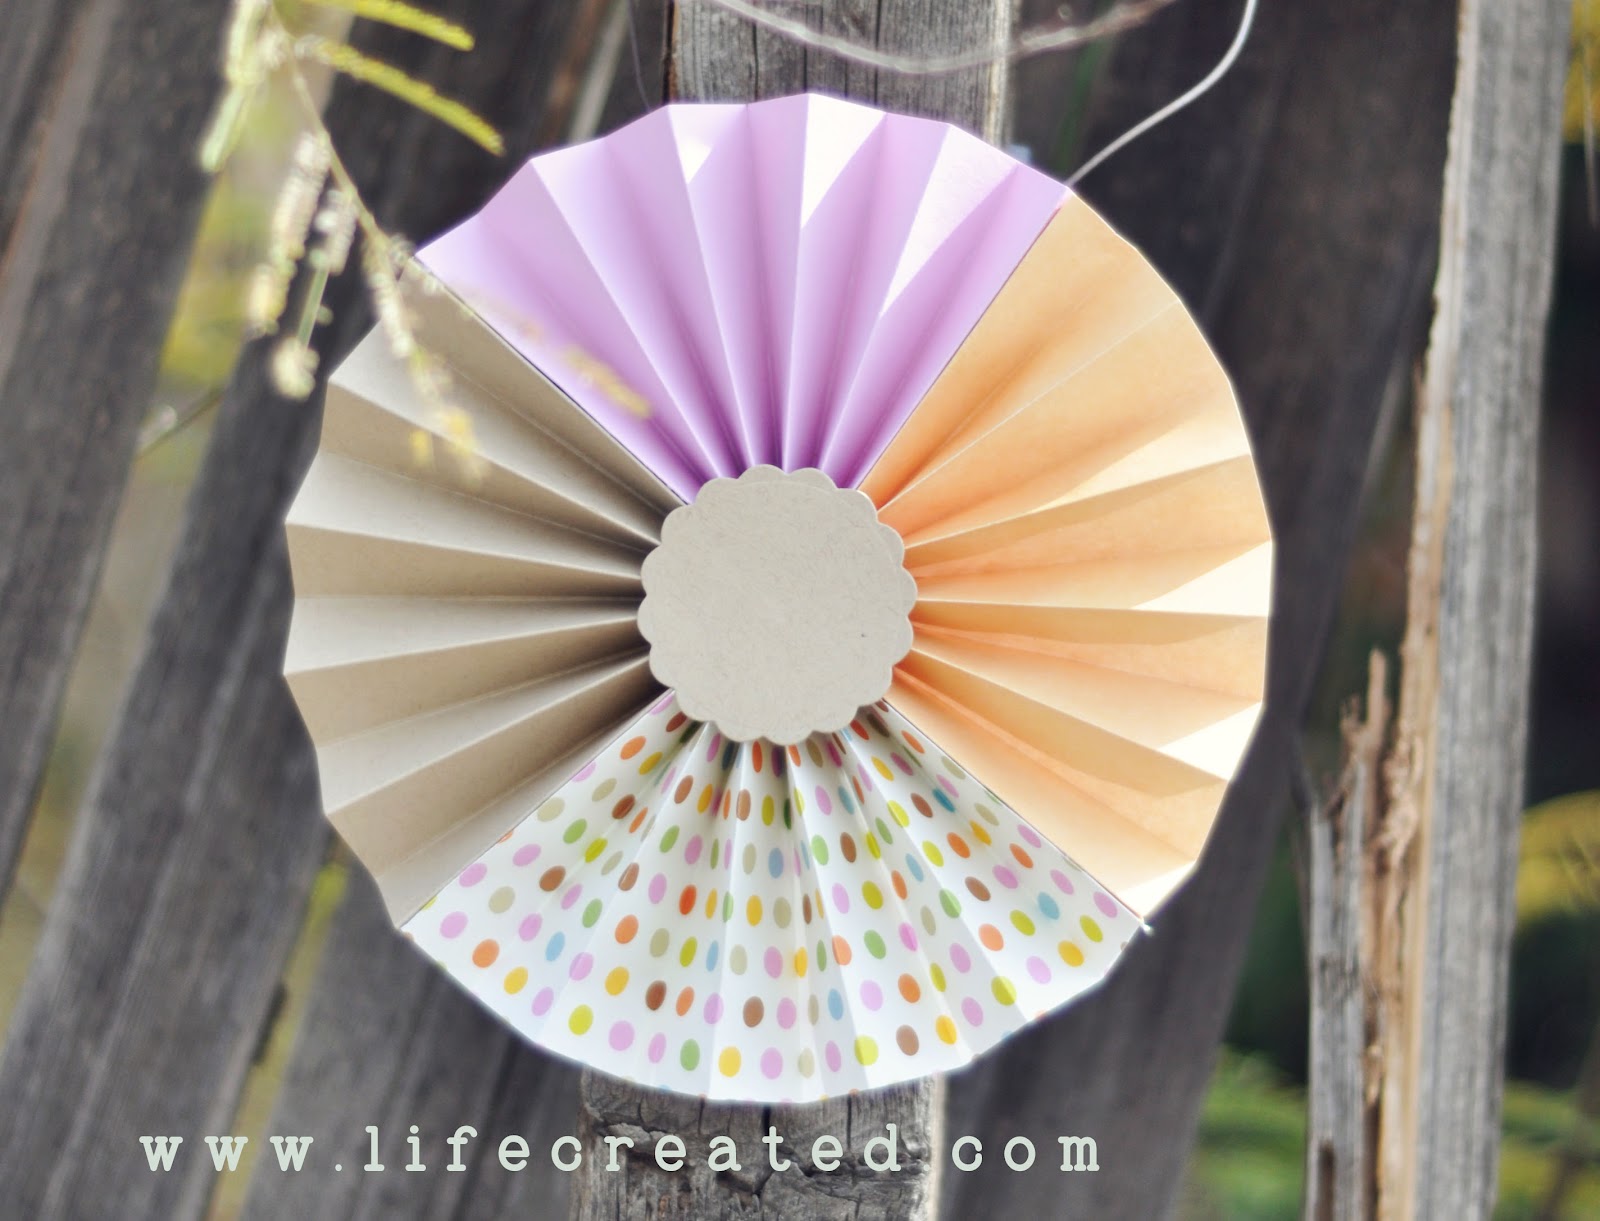
This "how-to" will show you how to make one paper medallion in quarters (4 parts) using 4 different papers. The result will be this:
 |
| 8 inch paper medallion with plain edge
Have you seen my other paper medallion pictures I have posted? There are so many variations to making these!

 .jpg) I had asked in the previous medallion post if anyone would like to learn my method. Even though no one responded, I'm giving the cyber world a tutorial I hope can be helpful to someone.
|
If you want to make one in a different size or with other paper proportions, this method can be altered to fit whatever you have in mind.
I taught myself how to make these, so this may not be the best way...its just my quick way ;)
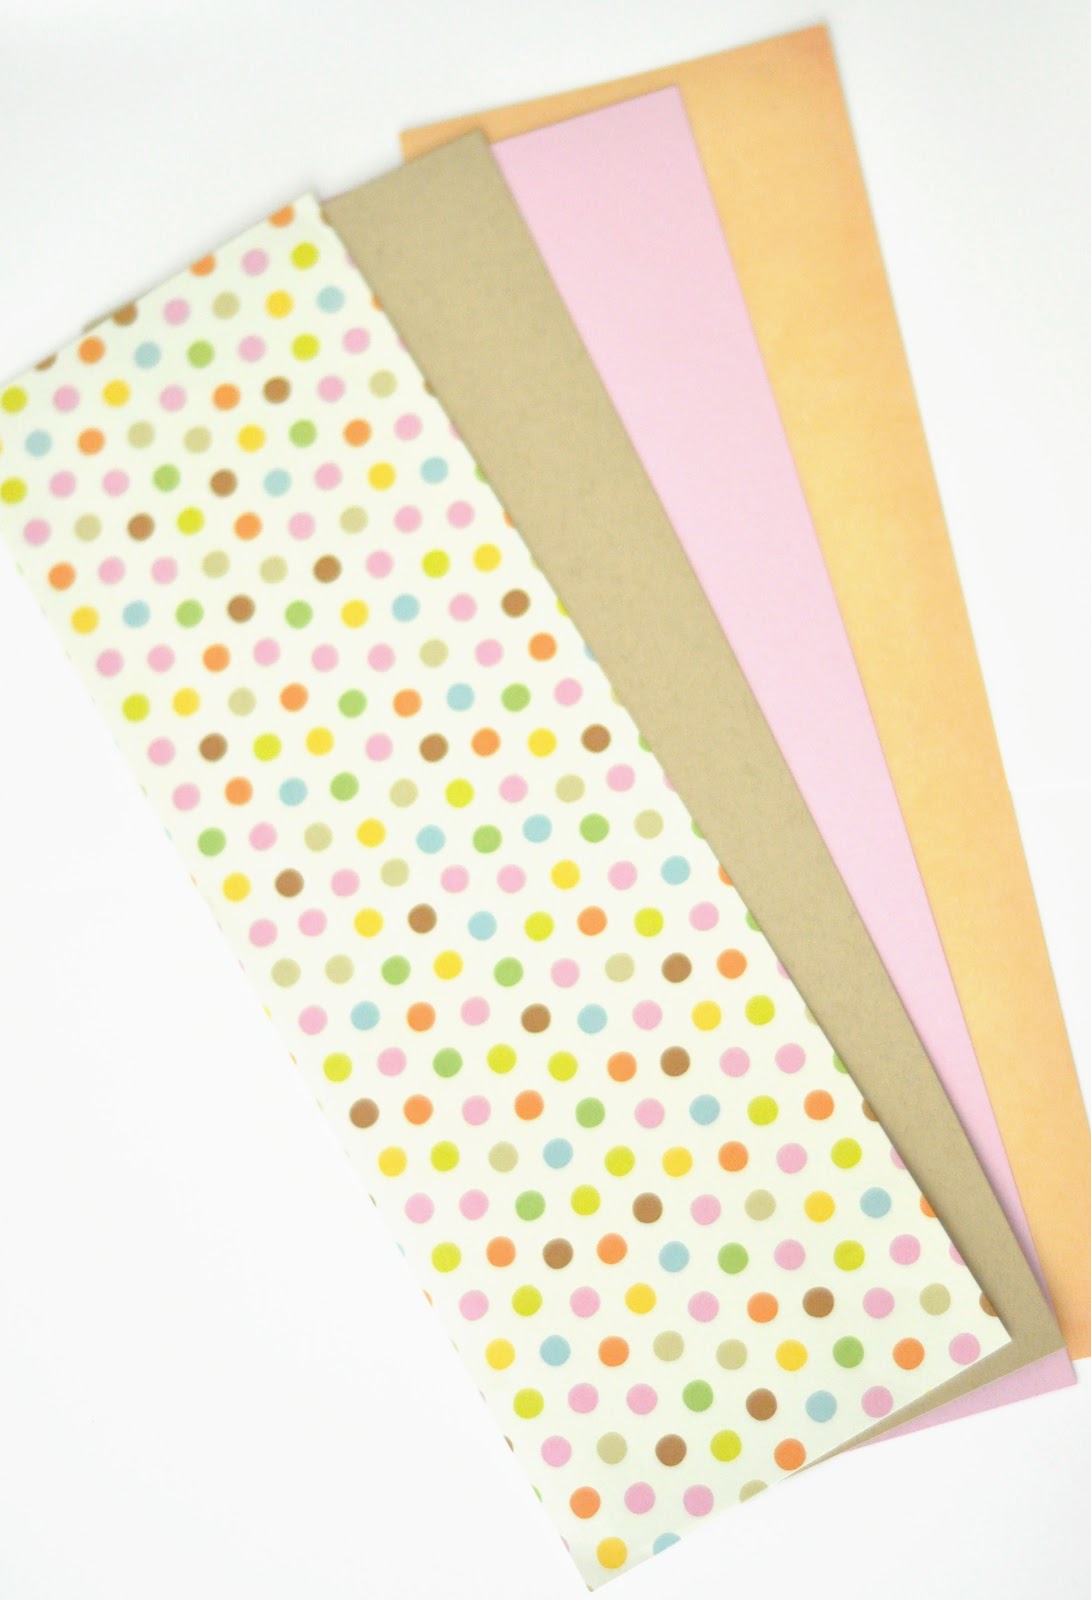 |
| 4 strips of 4x12...whatever paper you wish Since our paper is 4 inches wide, our medallion will end up about 8 inches in diameter. Wanting a smaller/bigger one? Just alter the width accordingly:) |
 |
|
ruler (get a metal one..they are so handy and last forever!....cheap too)
self healing mat
scorer (I just use the back of a butter knife)
plug in your glue gun
|
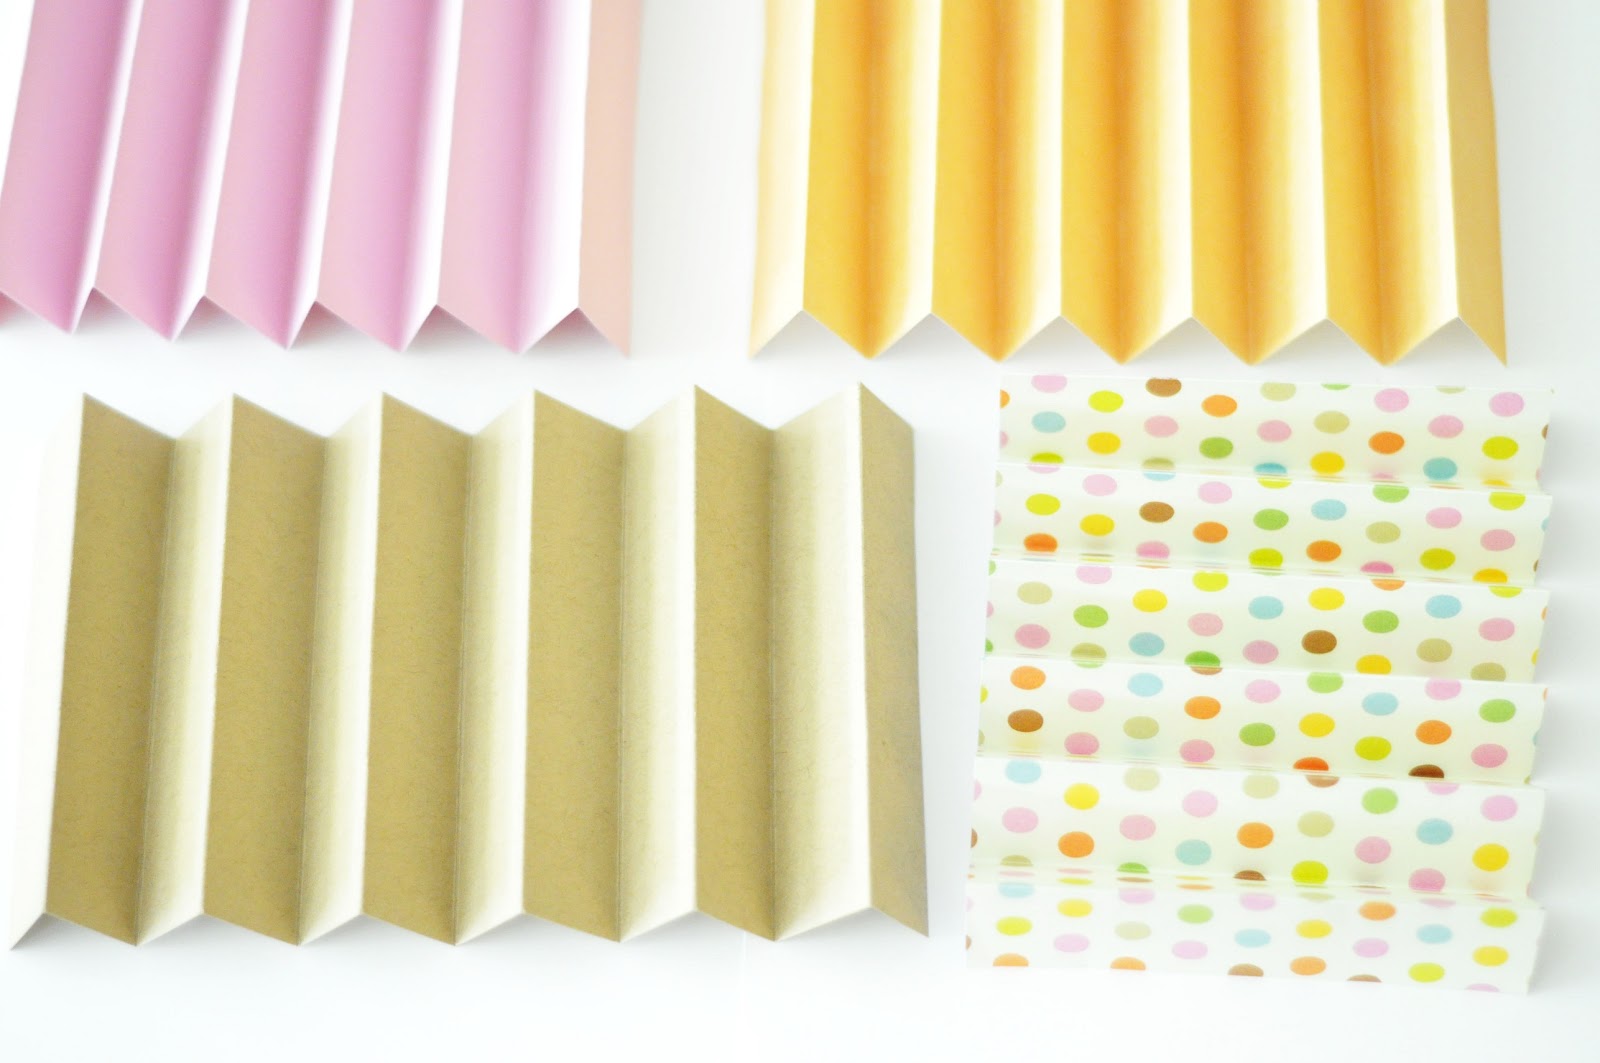
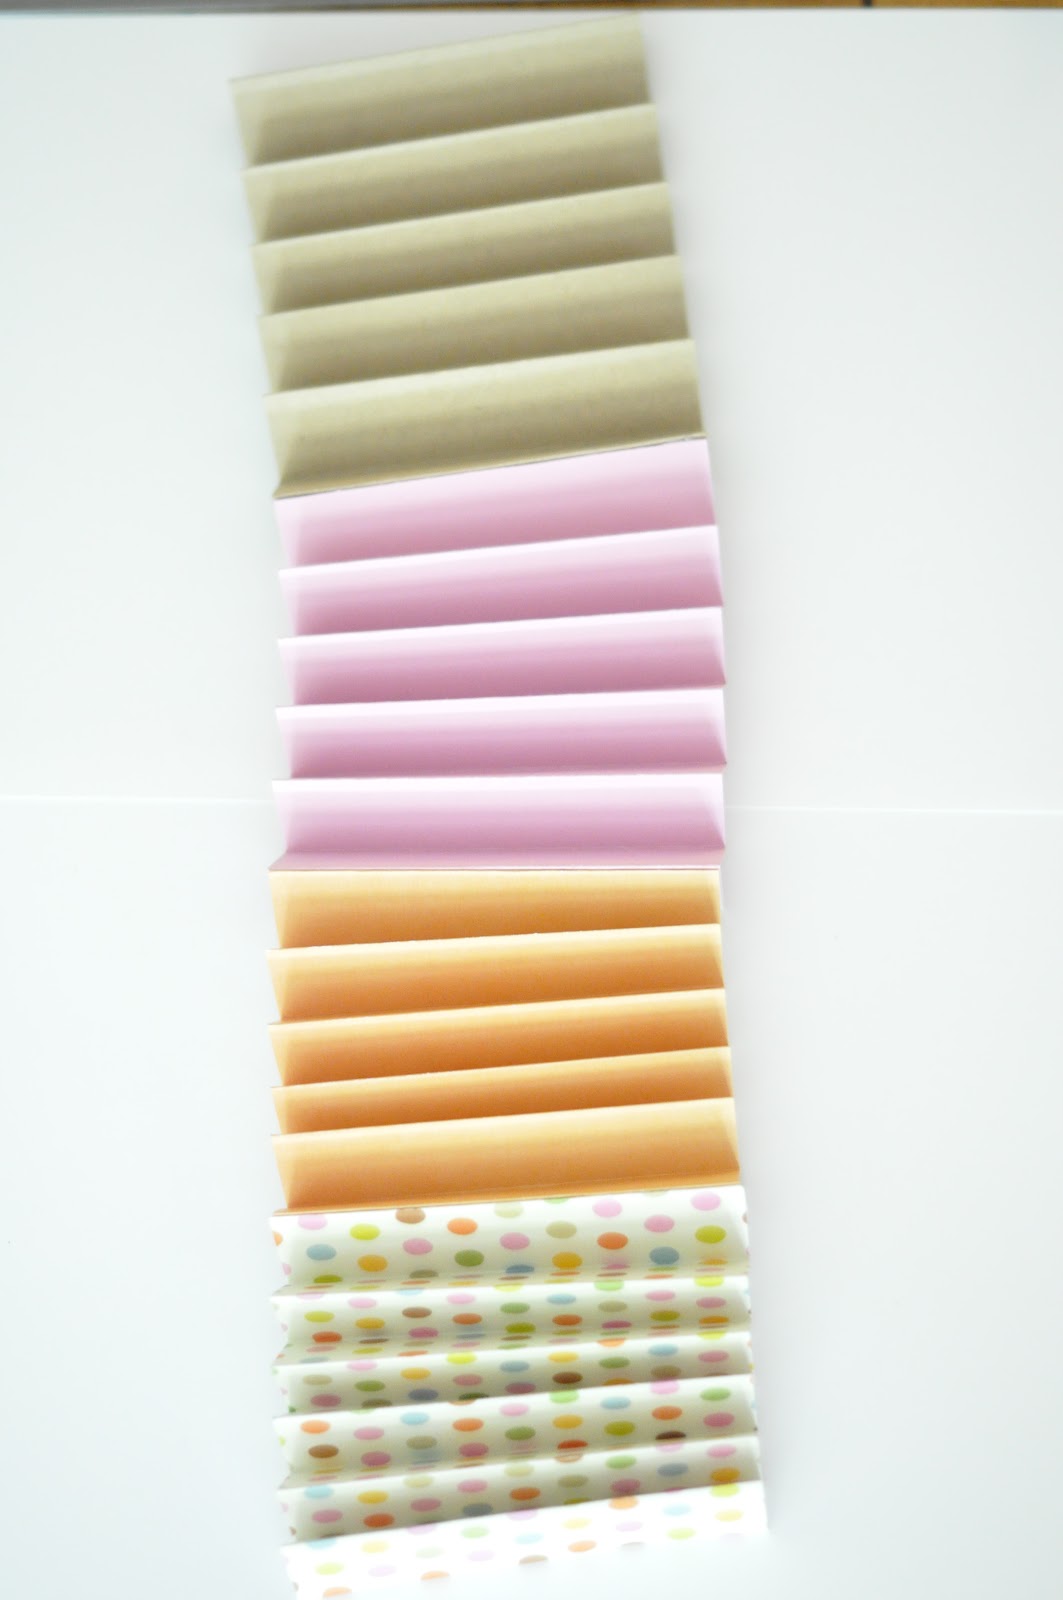
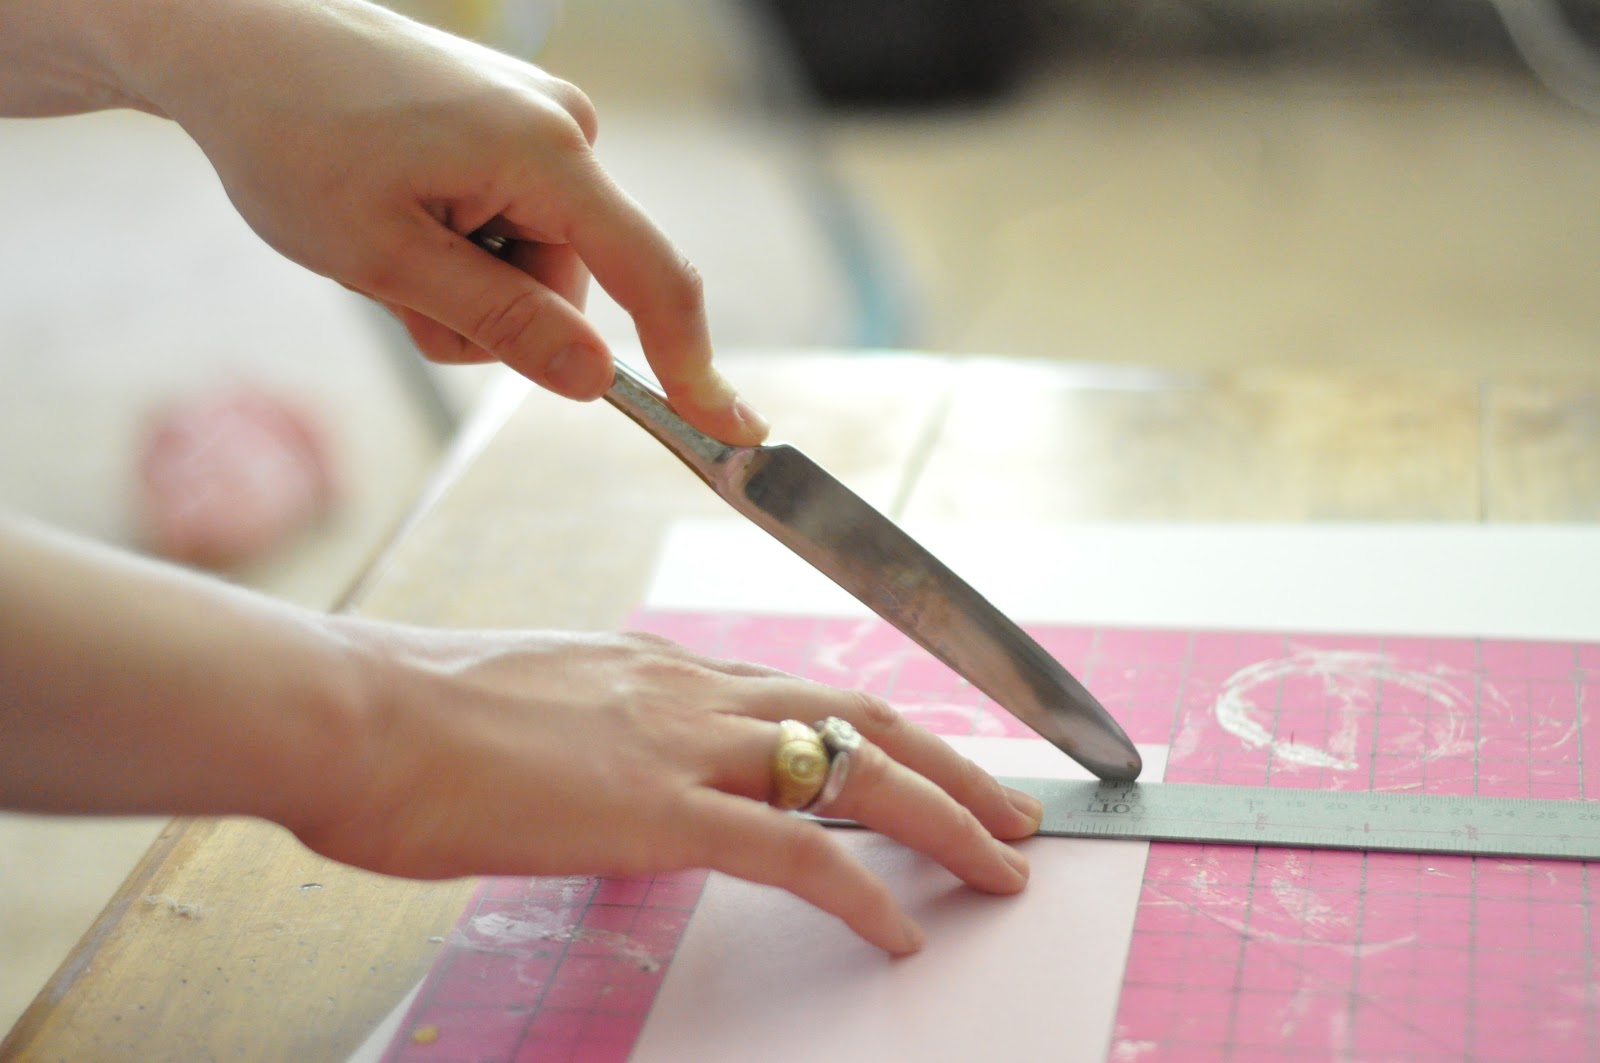 Step 1 Take your ruler and mat, align a strip onto the mat and at every inch, use the back of the knife to score the paper. You are just trying to make an indent in the paper that will allow for accurate folding...do not cut the paper....Repeat this for all 4 strips and you will get
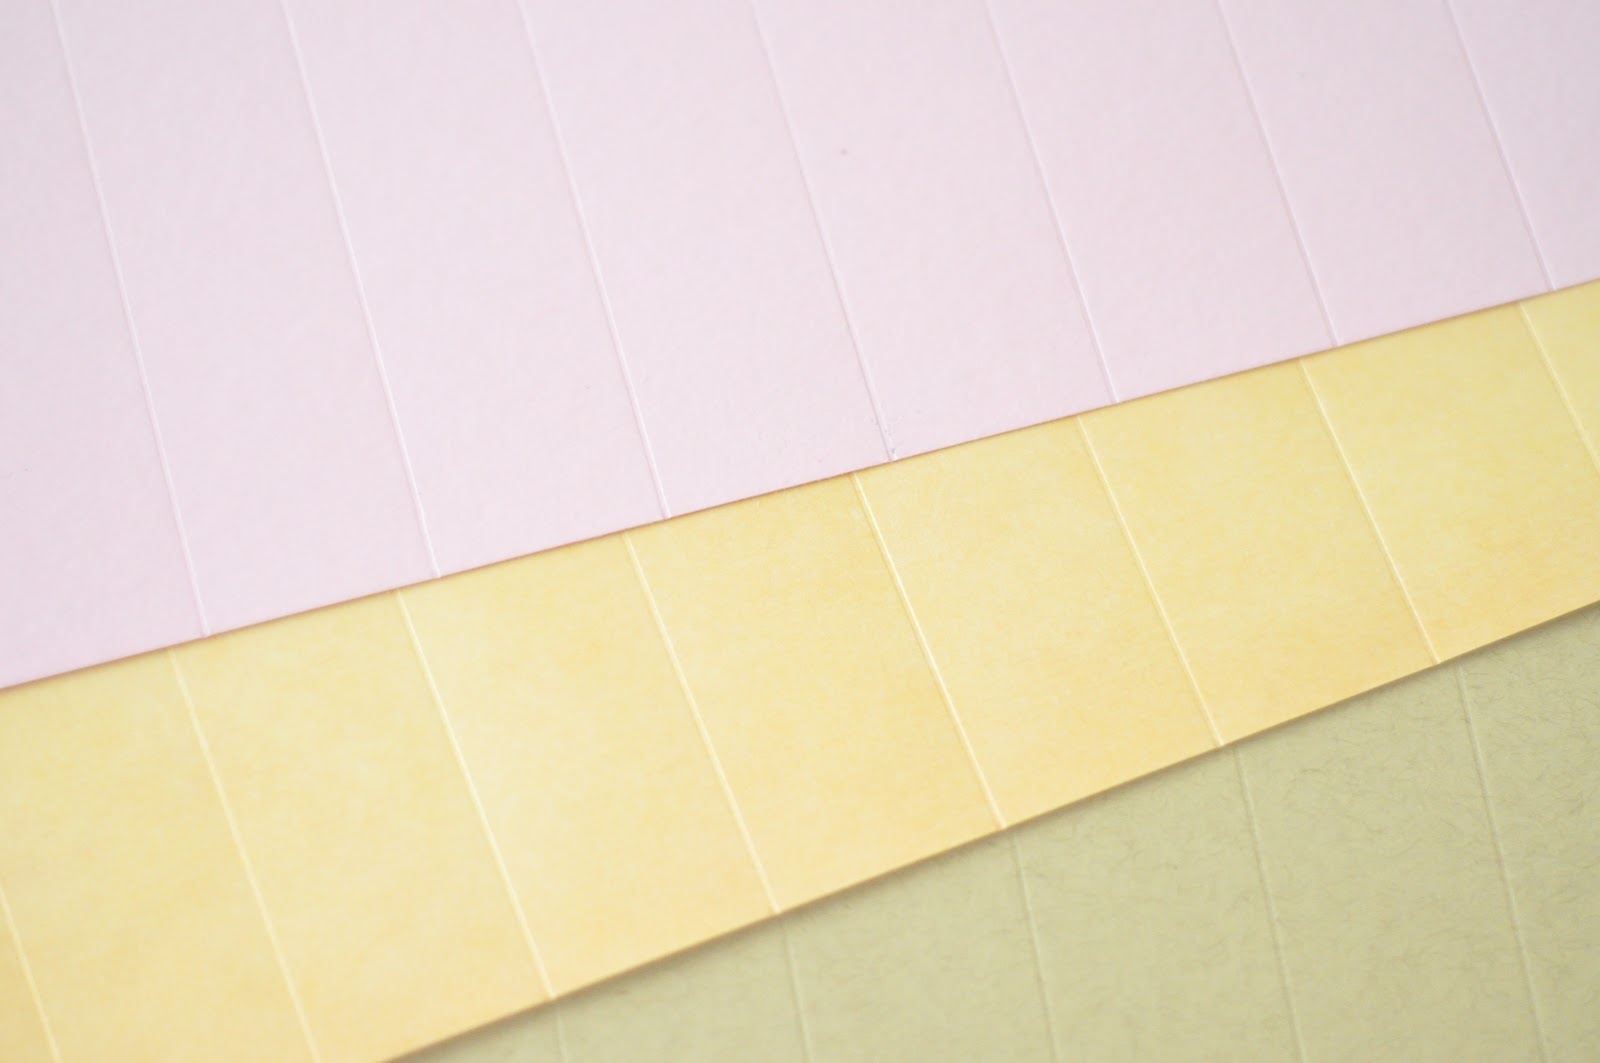 this:
this:Keep in mind if you want a flatter medallion, you can do scores at 3/4 inch or 1/2 inch instead....the size of your finished medallion is all that is different if you do that. See examples of flatter medallions that I have made here.
Step 2 Once you have all 4 strips
scored, fold them accordion style.
If you are 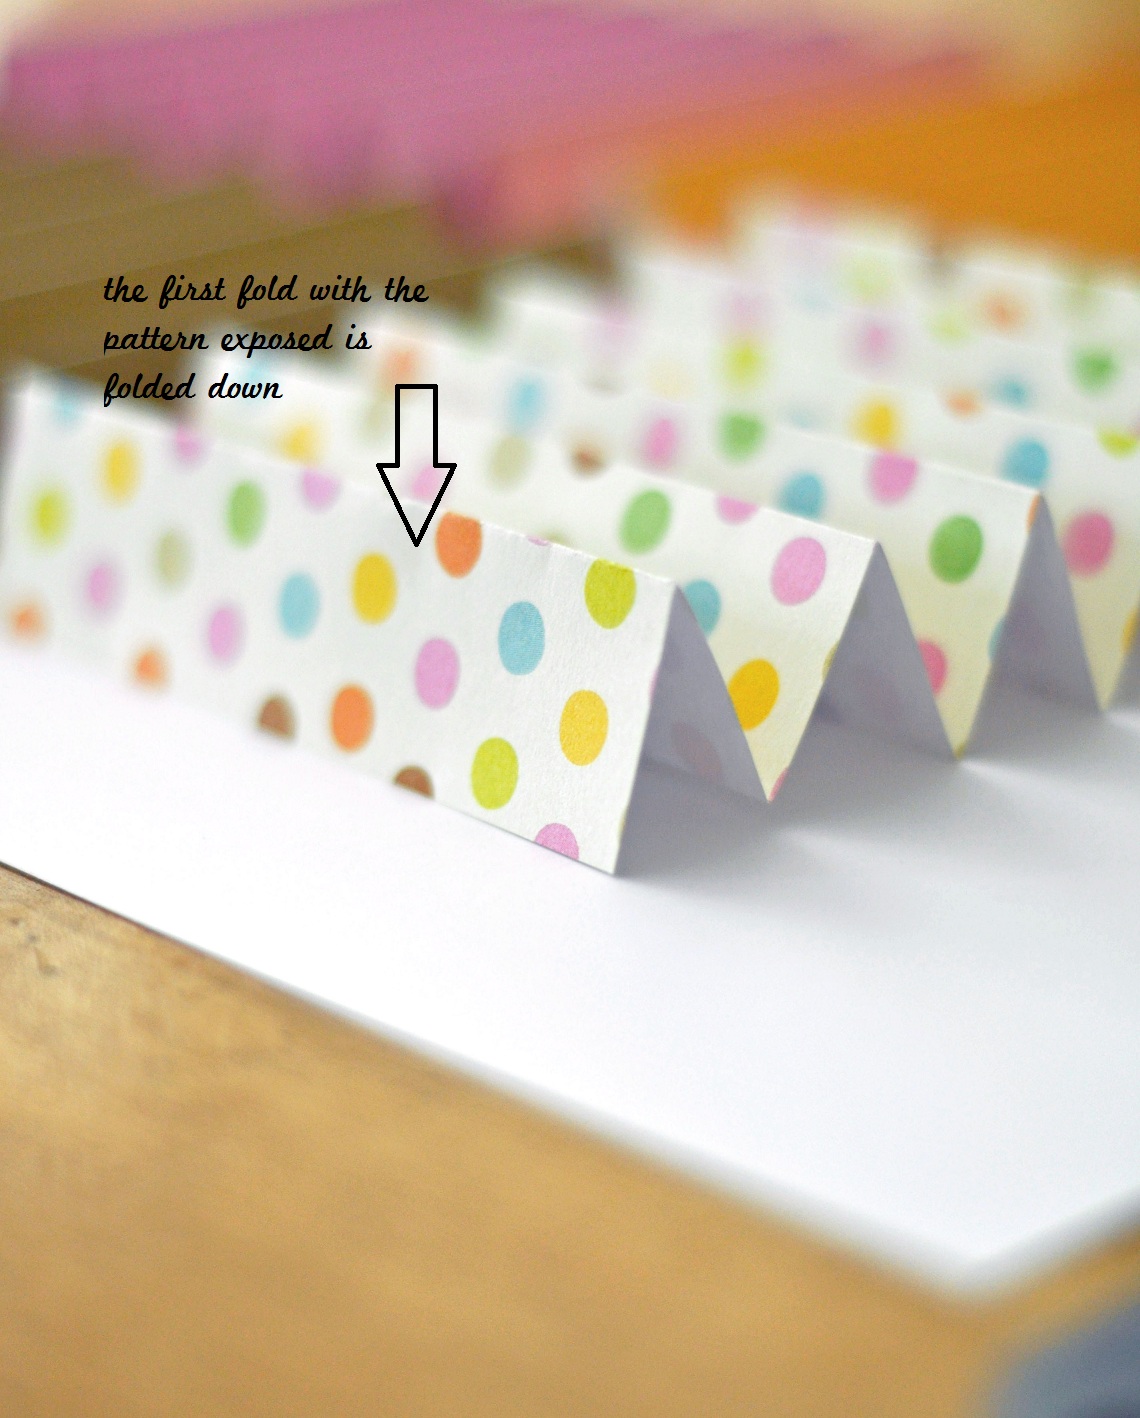 using paper with a color/pattern only on one
side of the paper, be sure to start with the first
fold being made down.
When we glue these together, we will be hiding
the raw edges of the paper, and this will help us
do that.
Since our paper was 12 inches long, we know our last fold will also be pointing down. (Any even number measurement insures this)
See here:
Now is the time to think about if you want your medallion to have a decorative edge. For this example, we will leave it plain, but if you would like your medallion to have a scalloped edge, cut a rounded edge on one side of all of your accordions before proceeding.
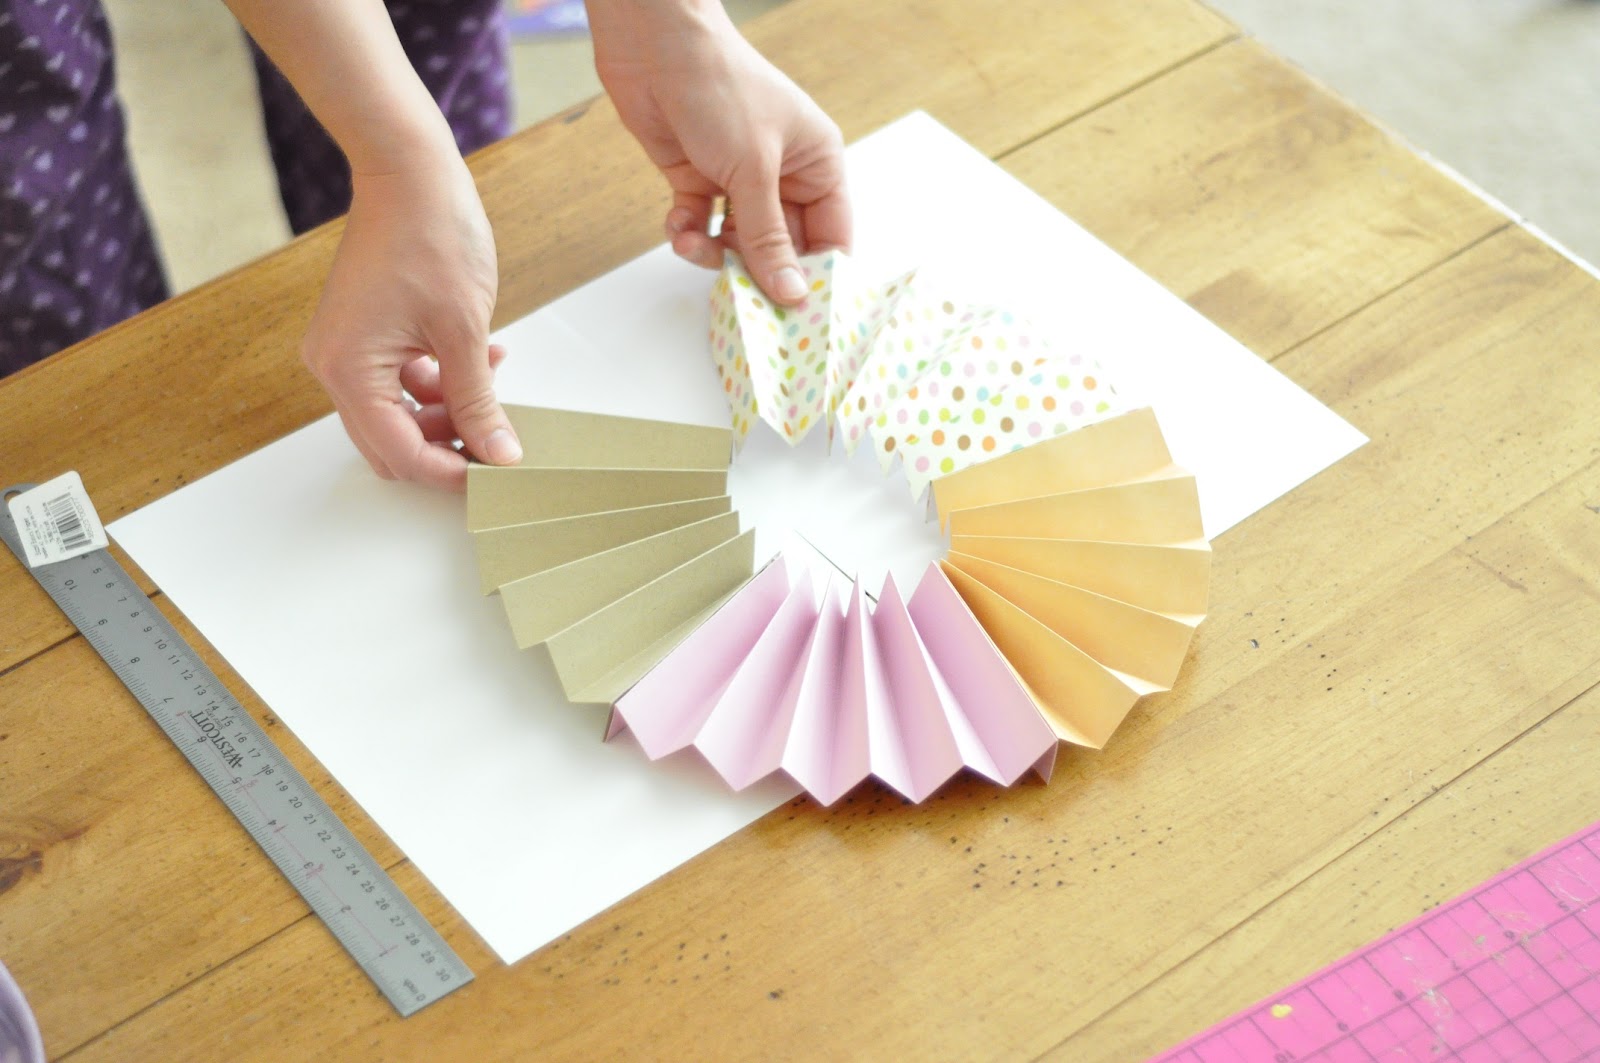
Step 3 Take your 4 folded strips and align them in the order you would like them to appear in your medallion.
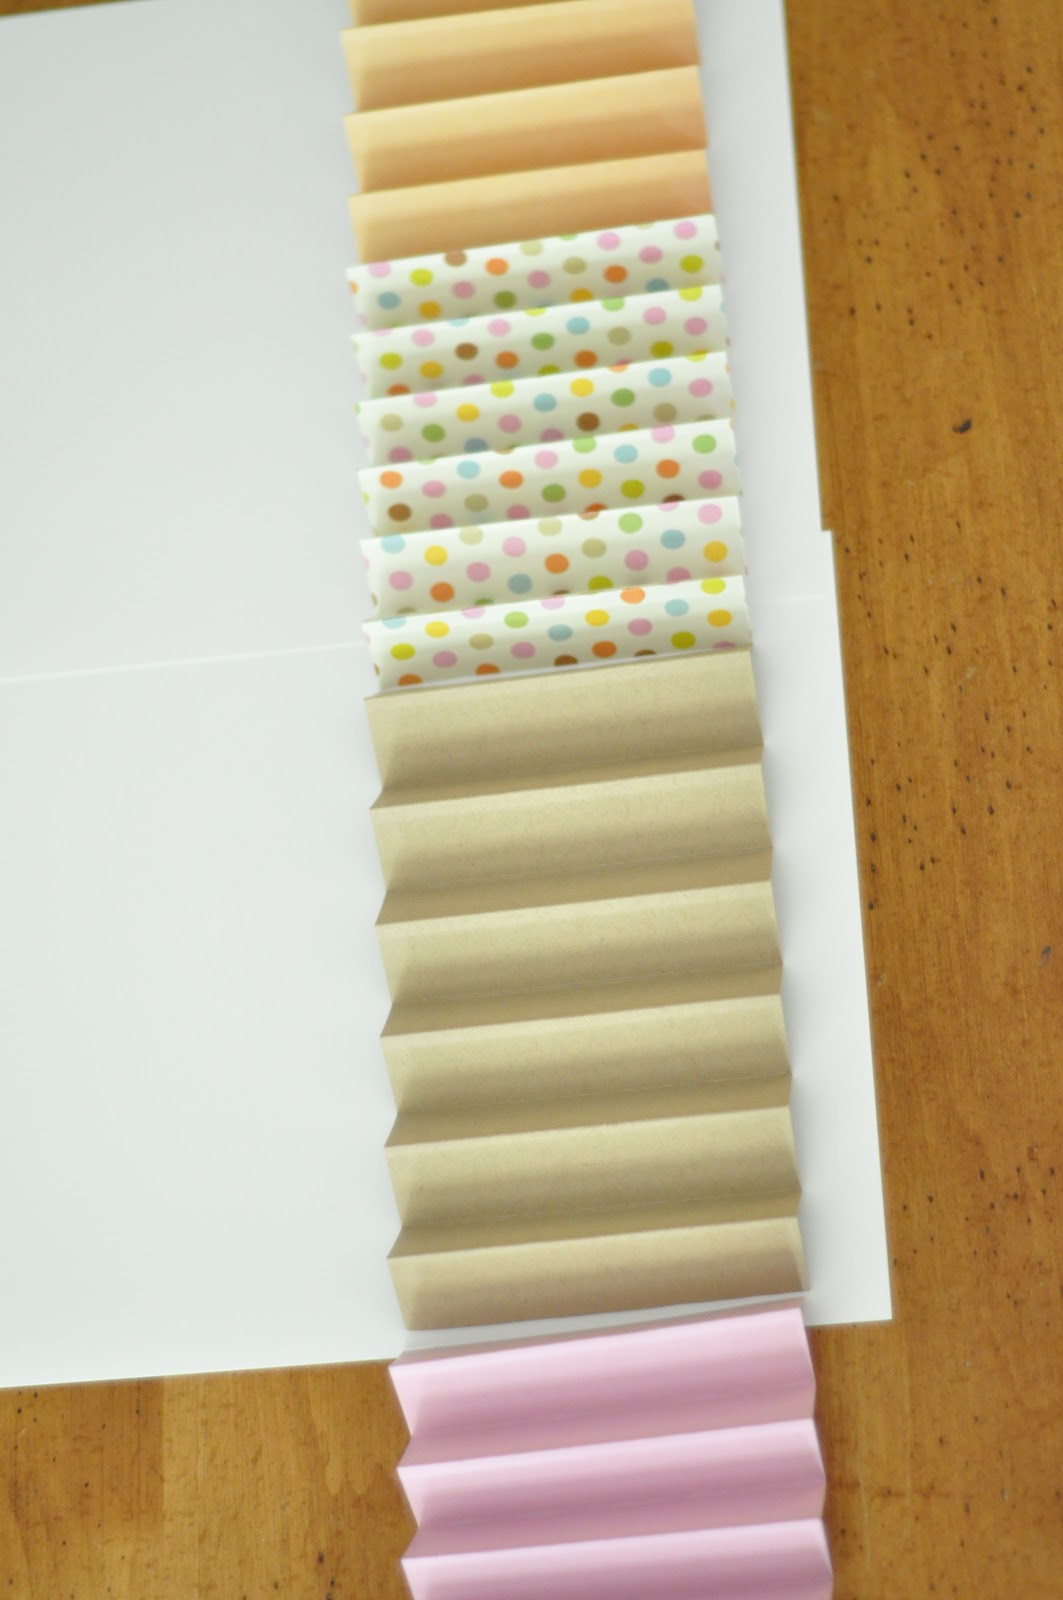
Gather your train of accordions and go over to your glue gun.
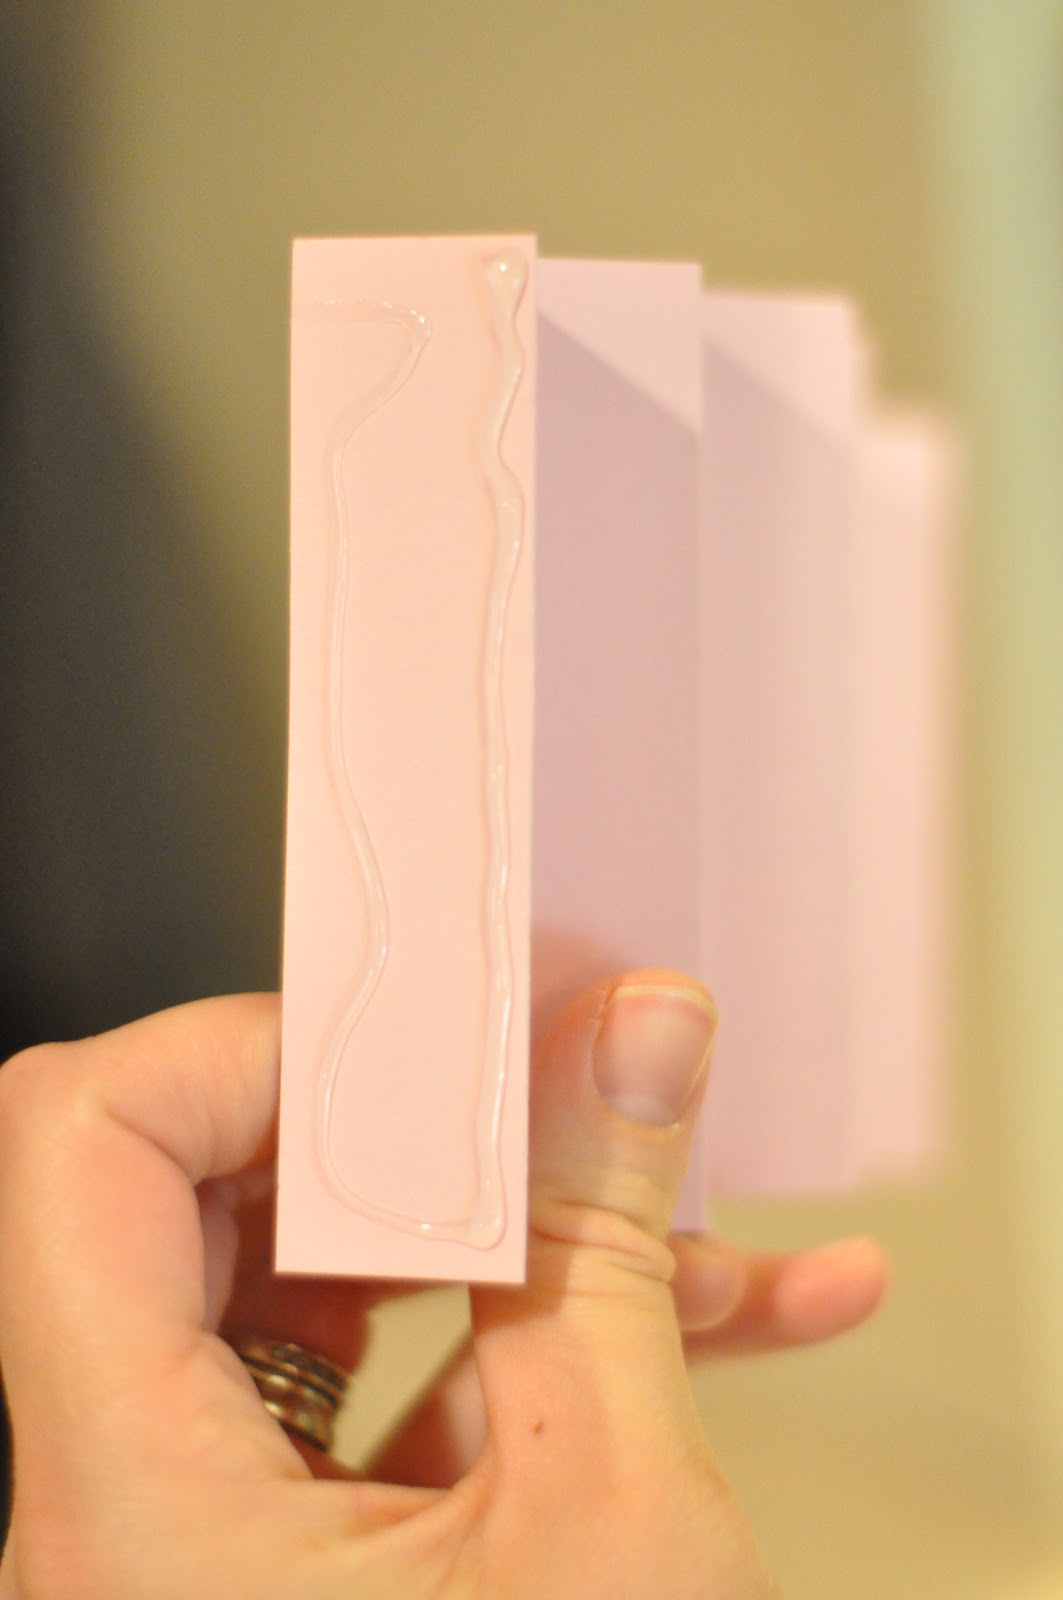
Where each paper end that is folded down meets the neighboring paper's end, put a line of hot glue close to the folded edge. Push pieces together, making sure there is no gap or glue missing. When you medallion is spread open at the end, any gaps will be visible.
Do this until you get a big accordion strip
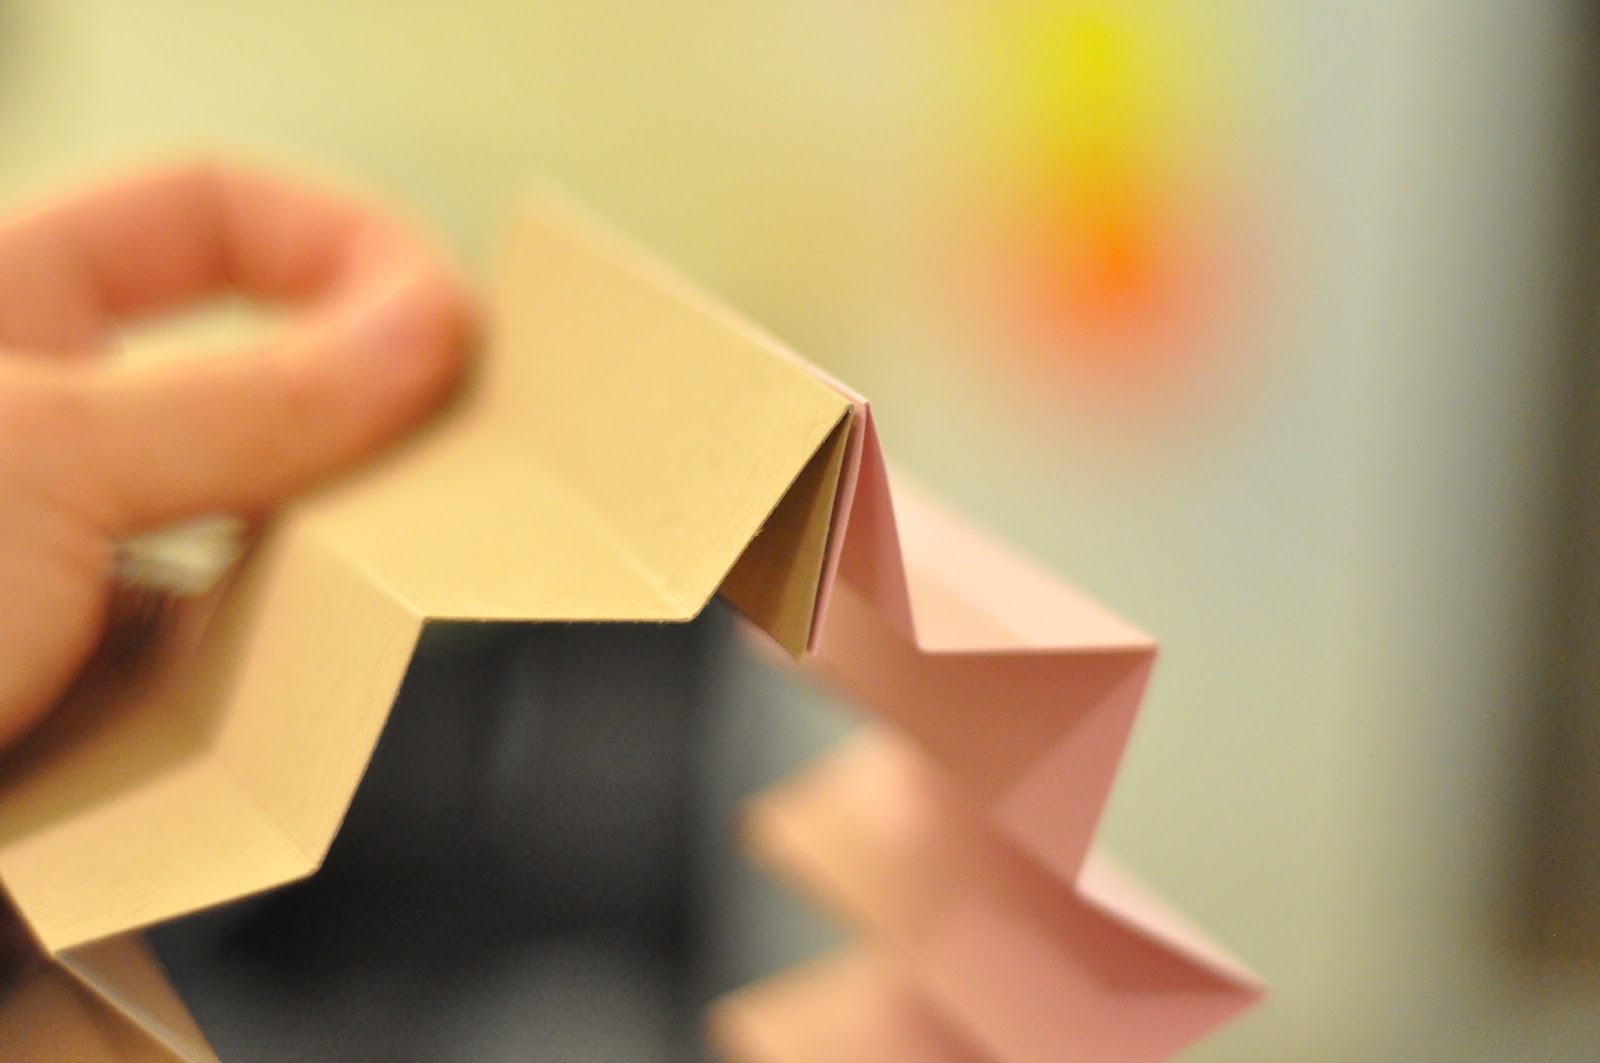
Step 4 Now that you have your long accordion strip with all 4 pieces connected, take the to free ends, bring them both around until they meet....glue them together to form an accordion ring
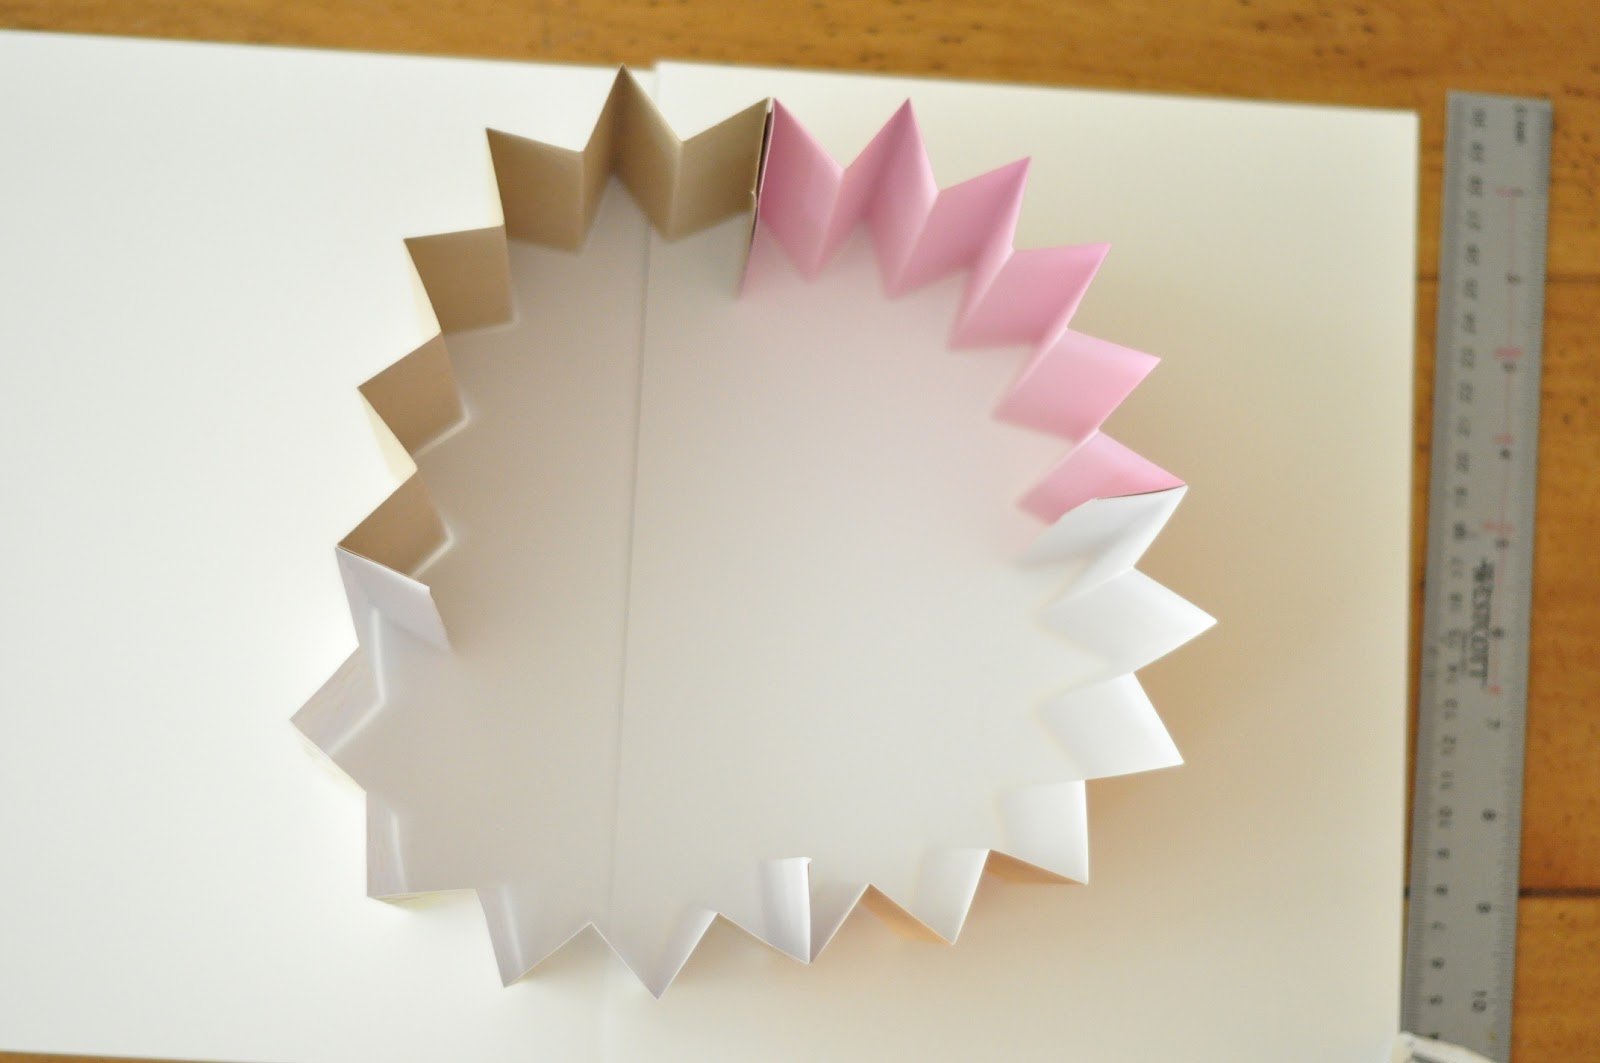
Get ready to flatten...a tricky but fun part!
The way I do this is to first make sure the side you want exposed is on the outside of the ring.
Put your hands around the top edge that is elevated in the air.

Bring your hands around the ring, slowly pushing the folds together at the center...it might take some maneuvering, but the edge will fold down in the middle, forming your medallion.
Carefully take over to your glue gun, apply enough glue in the center to hold it together, and add a paper shape/circle to the center to be a stabilizer...do the same on the back for added strength.
Have any questions? Did this help?
I would love to hear from you!